
Nov 11th 2020
EasySculpt Pillar Candle Holders
Materials List:
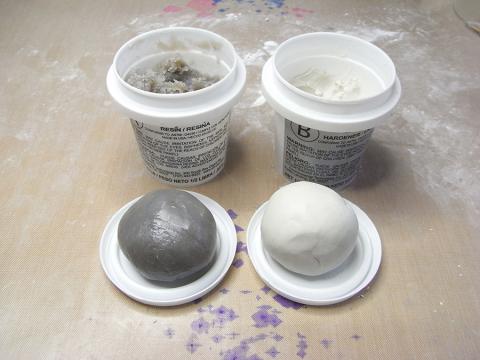
- EasySculpt® Epoxy Modeling Clay
- Castin’ Craft Resin Spray
- Design Master Glossy White spray paint
- Talcum powder
- Krylon Gold Leafing Pen
- Firm fitting latex gloves
- 12” piece Sequin waste
- Acrylic roller
- 2 Teflon craft sheets
- 3” Postal tube trimmed to 6”
- Freezer Paper or Wax Paper
- Double sided tape
- Clay blade
- Paint brush
- Sheet of copy paper
- 8 Tongue depressors or jumbo craft sticks
- Cello tape
- Ruler, pencil and scissors
- Timer
Project Instructions:
EasySculpt Circle Pillar Candle Holder (Pictured as ‘A’ Above)
Before beginning, put on your gloves – EasySculpt will be sticky while you are working with it.
Firmly wrap a 6” wide strip of Freezer Paper around the postal cylinder and tape in place with the double-sided tape. Measure and cut a 1 7/8” strip along the long edge of the copy paper. Place it around the tube and mark where the two pieces overlap. Trim. Trace around the end of the tube onto the copy paper and cut the circle out. Measure and cut out a 3” square. These are the templates for the candleholder.
- Measure out equal quantities of EasySculpt Parts A and B. To work out how much you need, scoop out about ¼ of a tub of one part. Roughly flatten it out to approximately 3/16” thick and about half the size of the strip template. Add or remove clay as necessary. Roll the clay into a ball and then measure out an equal sized ball of the other part.
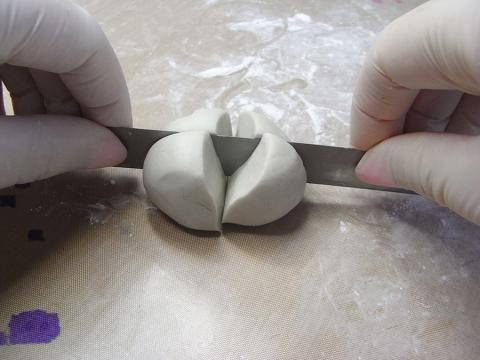
- To make it manageable to mix this quantity, divide each part into fourths and roll each piece into a ball. This will also help make sure that you have equal parts of A and B.
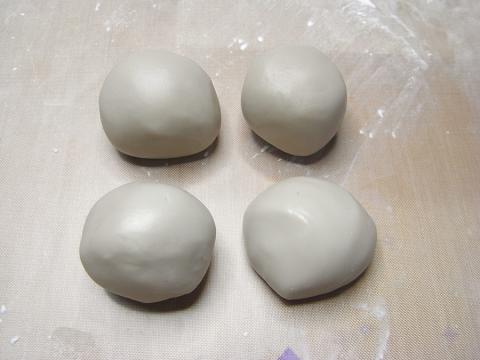
- Take two equal-sized parts, one of A and one of B and mix them together following the package instructions. Repeat with the 3 remaining pairs of clay. Set the timer for 15 minutes to allow the clay to firm up. Take two of these larger balls of clay and mix them together. Set these aside while you mix the remaining two together. Mixing in stages minimizes the amount of heat generated and slows curing down. Set the timer for 5 minutes and then mix the final 2 balls together.
- Tape pairs of the popsicle sticks together. Dust the Teflon sheets with powder. Shape the clay into a log and place on the Teflon. Arrange the popsicle sticks end to end and position them on either side of the log.
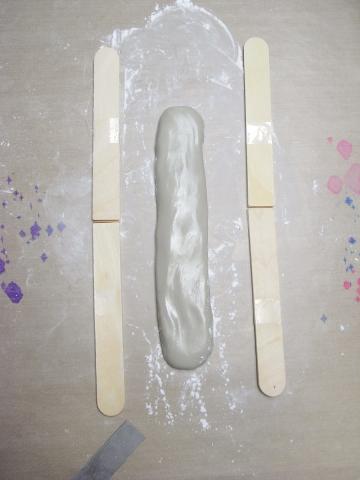
- Place the second Teflon sheet over the clay.
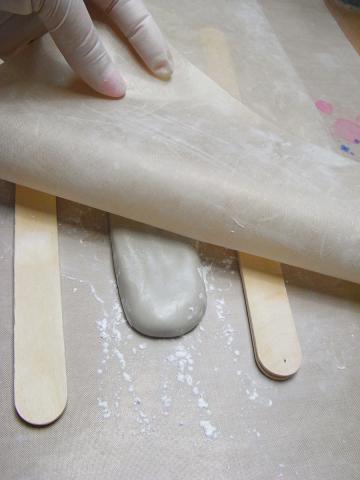
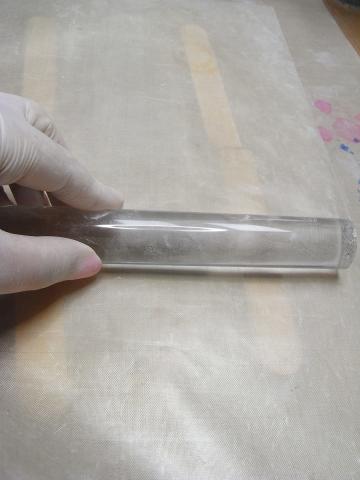
- Roll it out to the same thickness as the popsicle sticks. Keep checking as you are rolling that the clay is not sticking to either of the Teflon sheets. If it is, dust both the sheets with powder.
- Place the strip template on the clay.
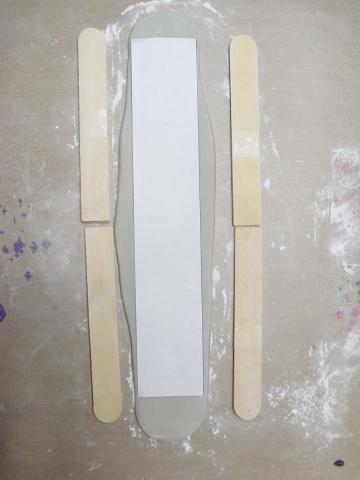
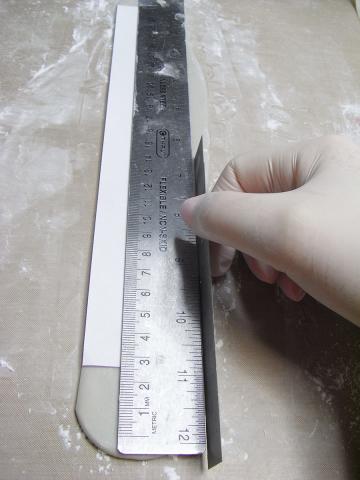
- Use the clay blade to trim the clay to size. A ruler can help keep your edges straight.
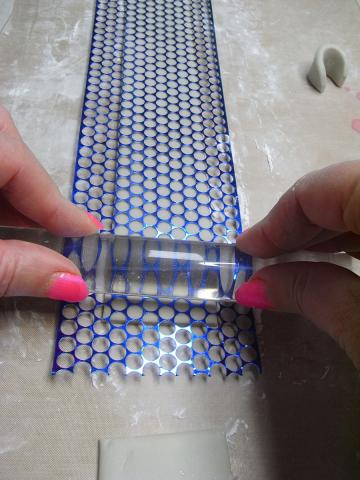
- Place the strip of sequin waste on the EasySculpt and roll it across the surface.
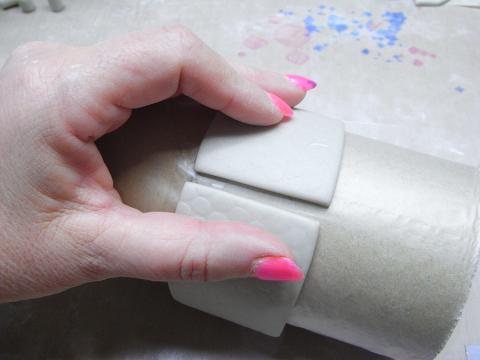
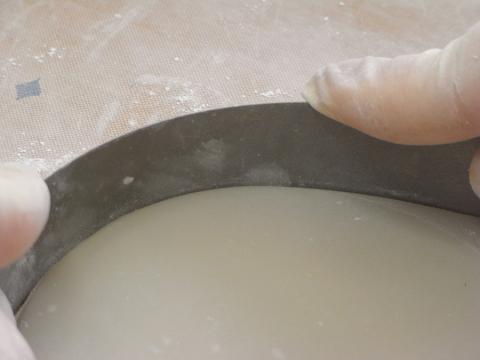
- Wrap the EasySculpt strip around the postal tube. Gently ease the ends together until they meet.
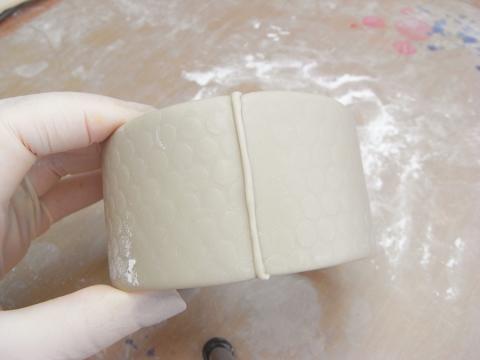
- Mix a small amount of EasySculpt and roll it into a snake. Place it between the two ends and push them together.
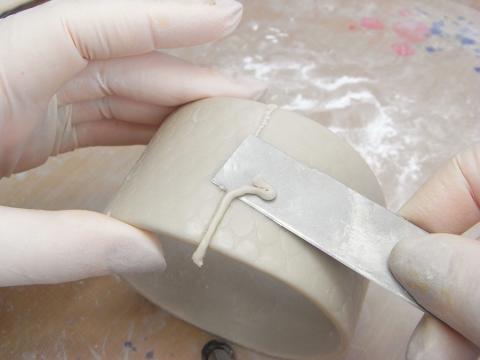
- Trim away any excess. Set the ring aside to cure, seam side down. Check it from time to time over the next hour to make sure that it is still sitting firmly around the tube and that it has not stretched. Measure out equal quantities of Parts A and B sufficient to cut the circle. Roll it into a ball and set it aside for 25 minutes. Place the clay between the popsicle sticks, and roll it out as before. Place the circle template on the clay and use the clay blade to scribe around the circle.
- Remove the template and then bend the clay blade to the curve of the circle and trim away the excess. Scoop out equal parts of A and B sufficient to cut out the square. Roll it into a ball and set it aside for 25 minutes to firm up. Roughly shape the ball into a square and then place it between the popsicle sticks and roll it out as before. Place the square template on the clay and cut it out. Allow all pieces to cure overnight.
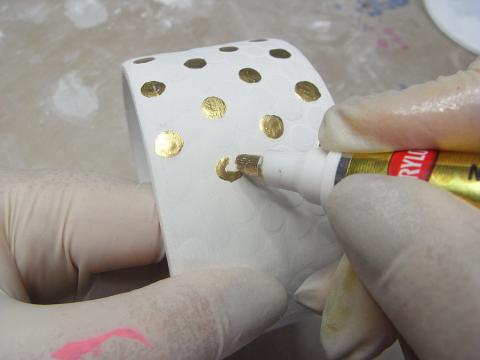
- Paint all surfaces evenly with two or three coats of white paint. Once dry, paint gold dots on every alternate embossed spot on the cylinder.
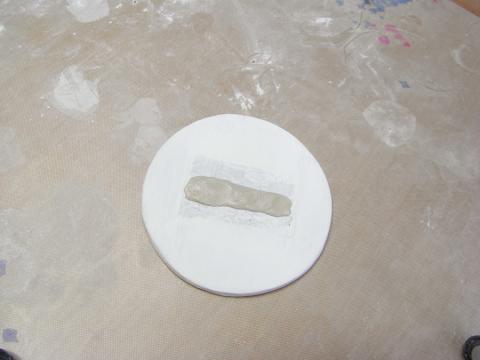
- Mix two pea-sized pieces of EasySculpt together and roll into two snakes. Place one snake along the middle of the disk. Position the seam of the cylinder on top and press firmly together. Trim away any excess.
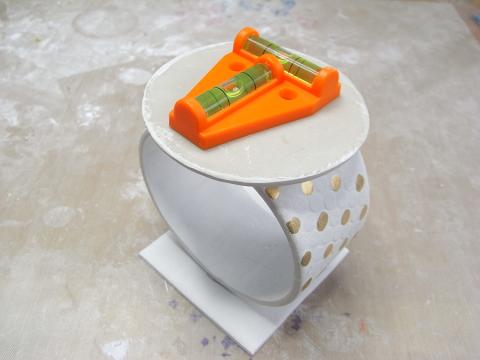
- Place the second snake along the middle of the square. Align the center of the bottom of the cylinder on the snake and press together firmly. Turn the candleholder right way up and place a spirit level on the round disk to check for level. Make any adjustments necessary.
If a gloss finish is desired, apply two or three light coats of Castin’ Craft Resin Spray once the paint has completely dried.
EasySculpt ‘X’ Shaped Pillar Candle Holder (Pictured as ‘B’ Above)
Before beginning, put on your gloves – EasySculpt will be sticky while you are working with it.
Follow steps 1-10 of the EasyCast Circle Pillar Candle Holder above, then proceed with the following.
- Cut the strip of EasySculpt in half using the clay blade.
- Set them aside for 25 minutes to firm up.
- Lay the two strips of clay on top of the postal tube and leave them to cure.
- Remove the two semi circles from the cylinder. Measure and mark the centerline of each strip.
- Mix a small amount of EasySculpt and roll it into a snake. Place it along the center of one of the arches.
- Press the centerline of the second arch into the clay strip firmly. Use a ruler to measure the distance between the two outer points of the “X” at the top and the bottom and adjust the arches until the measurement is the same. Measure out equal quantities of Parts A and B sufficient to cut a rectangle measuring 4” x 2.5”. Roll it into a ball and then place the clay between the wooden stir sticks, and roll it out as before. Cut the rectangle out and then center the arches on the clay, pressing them firmly into position. Allow to cure overnight. Create a circle template by tracing around an object with a diameter of approximately 4.25”. Measure and mix sufficient clay to cover the template. Roll it out between the wooden stir sticks, place the template on the clay and use the clay blade to cut around the circle. Center the arches on the circle. Place the spirit level on top and adjust the arches until the rectangle is level. Allow to cure overnight.
- Spray all surfaces evenly with two or three coats of white spray paint.