Posted by Myléne Hillam on Oct 30th 2020
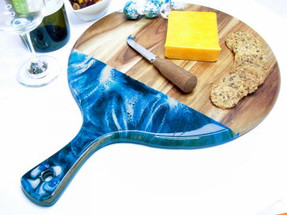
Fluid Resin Art Cheese Board
Materials List:
- EnviroTex Lite
- Castin’Craft Pigments: Black, Blue, White
- Wood cheese board (Acacia wood used below)
- Measuring cups
- Wooden stir sticks
- Masking tape with plastic drop sheet
- Low tack painters masking tape
- Heatgun
- Propane or butane torch
- Gloves
Project Instructions:
Designer’s Tips:
- Cover your workspace with a plastic drop sheet.
- Take care when using the heatgun to prevent the wood surface from being heated. This can cause outgassing and produce additional bubbles into the resin.
- Keep the heat away from the plastic drop sheet to avoid melting.
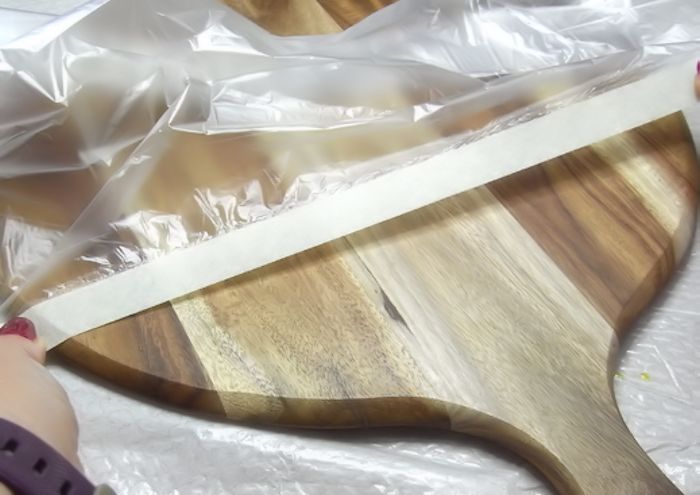
Step 1: Protect work surface with wax paper or plastic drop sheet. Mask off with masking tape and plastic sheet the area of the board that will not be coated. Do this on both sides of the board. Press tape firmly to board to ensure that resin will not seep under the tape. Elevate board above work surface with plastic cups.
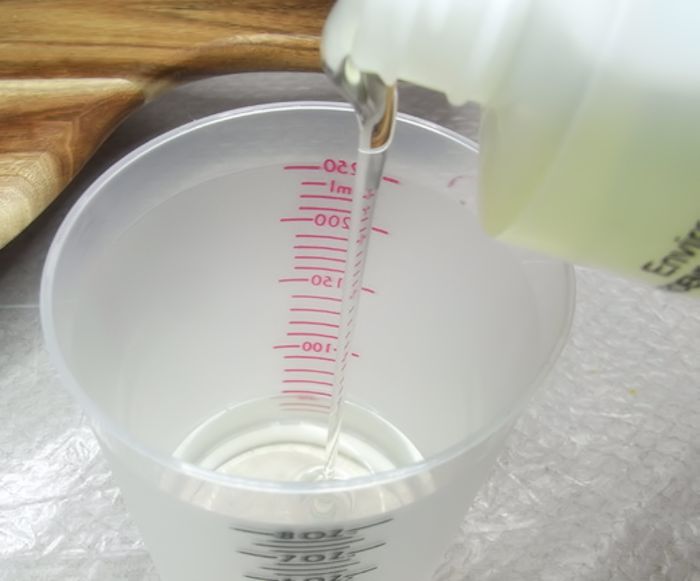
Step 2: Calculate the approximate amount of surface area to be covered with resin. Refer to coverage chart included in product instructions for amount of resin needed to coat. Measure out equal quantities of EnviroTex Lite Resin and Hardener.
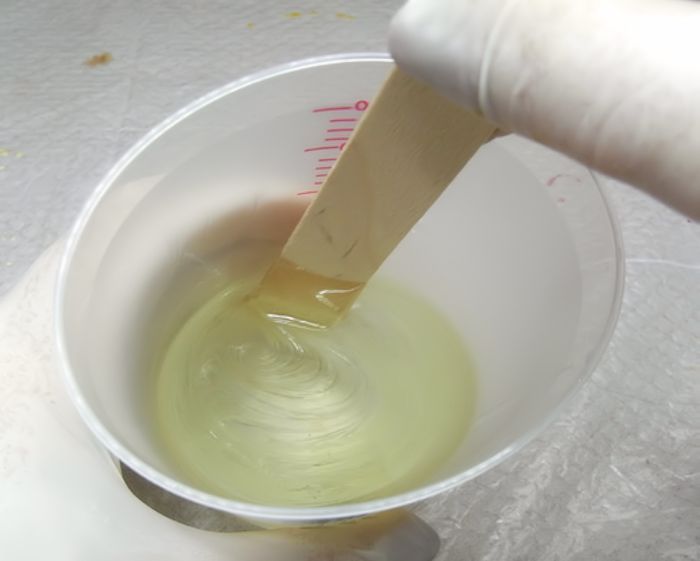
Step 3: Mix the resin and hardener thoroughly using the double cup mixing method. Refer to product instructions for detailed information.
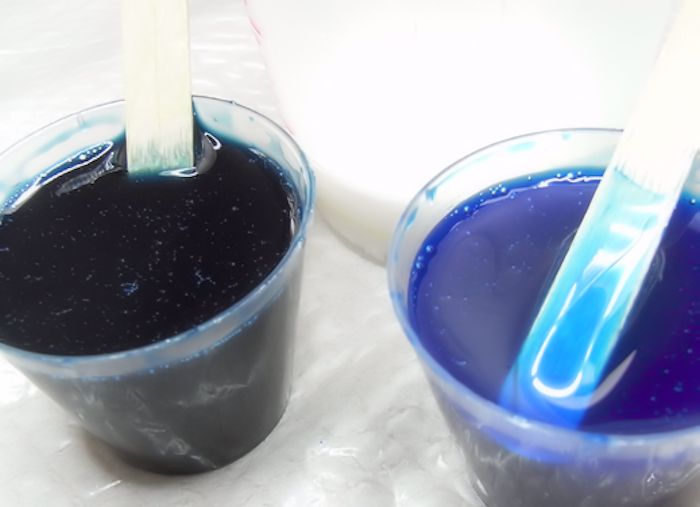
Step 4: Divide blended resin equally between three cups. Color one cup with white pigment and the other two with equal amounts of blue pigment. Add enough black pigment to one of the blue cups to create midnight blue. Mix each cup thoroughly.
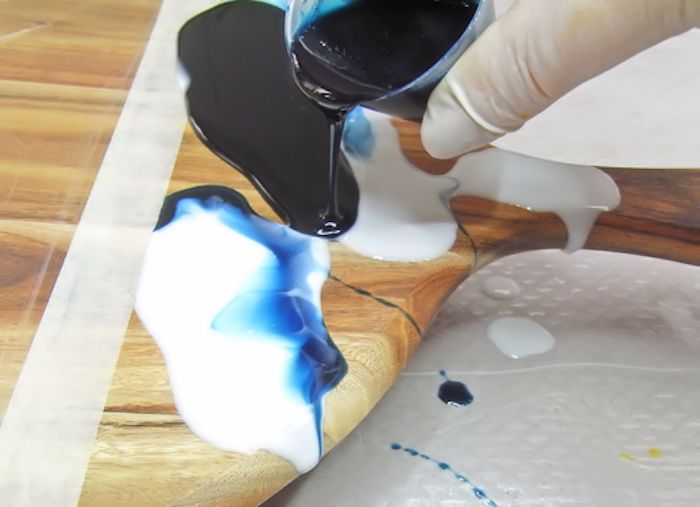
Step 5: Pour each of the three colors in diagonal blocks across the cheese board.
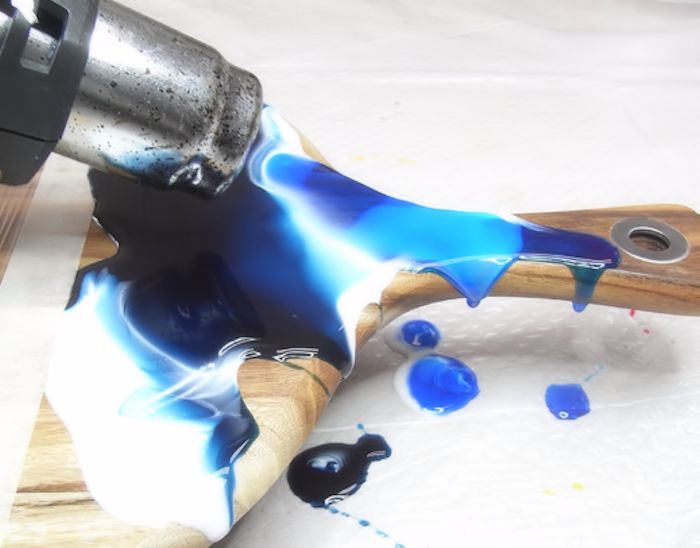
Step 6: Using a heatgun, spread and blend the colors together until they cover most of the cheese board. Take care not to overwork the resin and keep the heat gun moving at all times to prevent overheating or scorching the resin or heating the wood surface. Heating the wood may cause air to expel and create additional bubbles in the resin.
Step 7: Drizzle some of each color in diagonal, squiggly lines across the resin. This is easier to control with a stir stick than pouring from a cup.
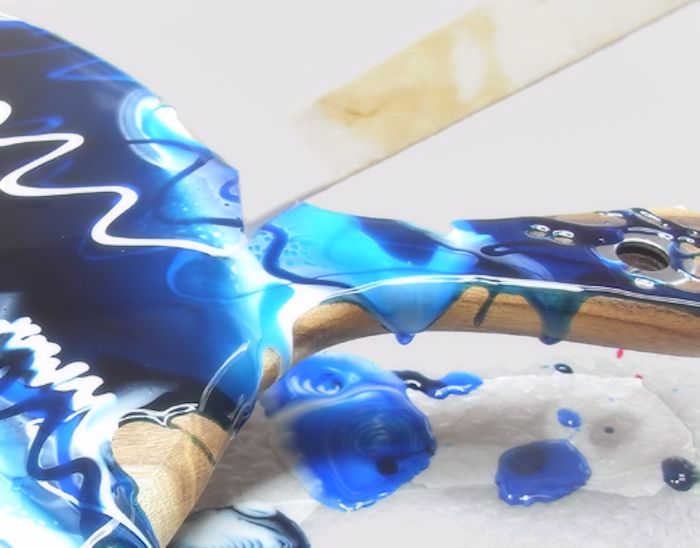
Step 8: Use a heatgun again to spread and blend the colors.
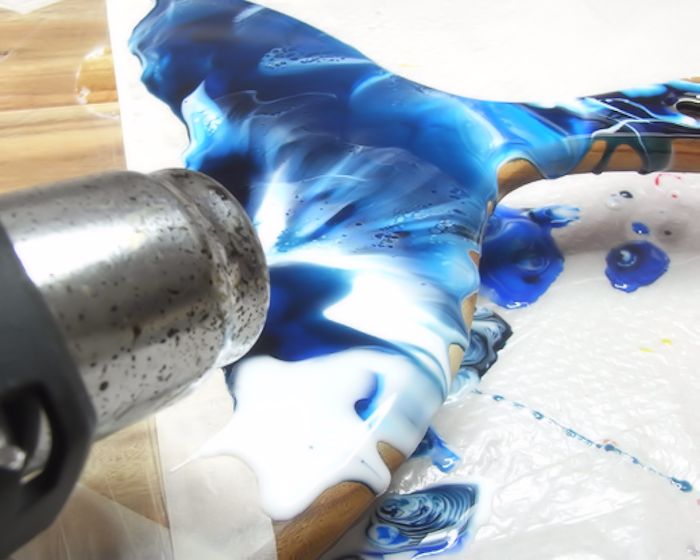
Step 9: Drizzle more white resin across the cheese board at an angle.
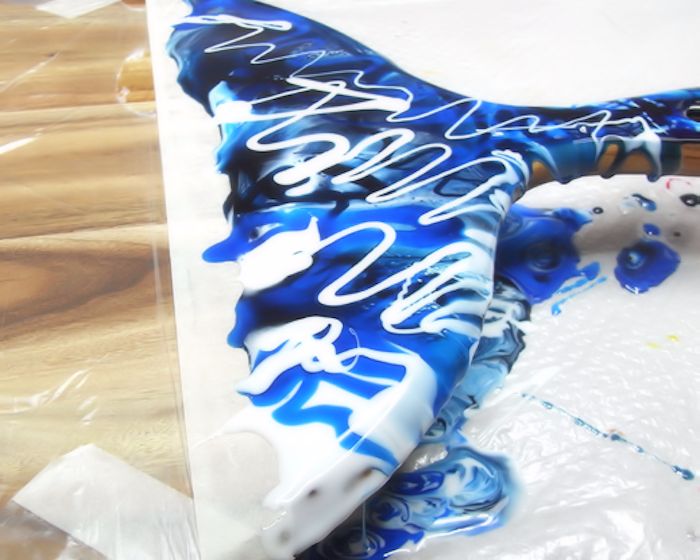
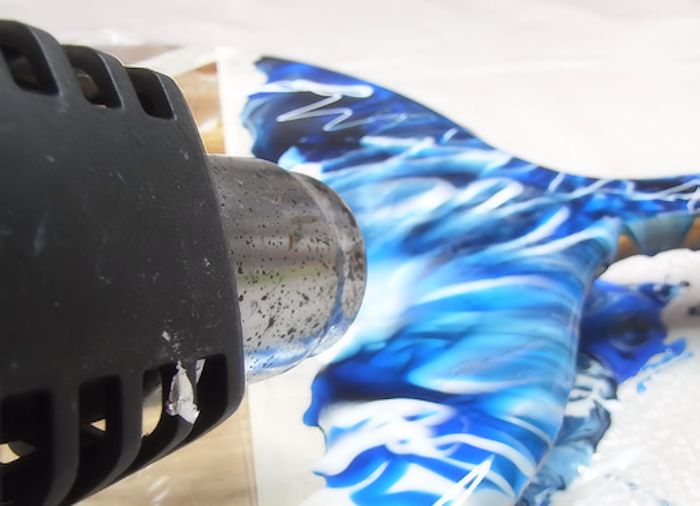
Step 10: Spread the colors with the heatgun again until the white resin is in a thin film and then let it settle. The lacey cells will begin to open up. Remove air bubbles with a propane or butane torch according to the product instructions if needed.
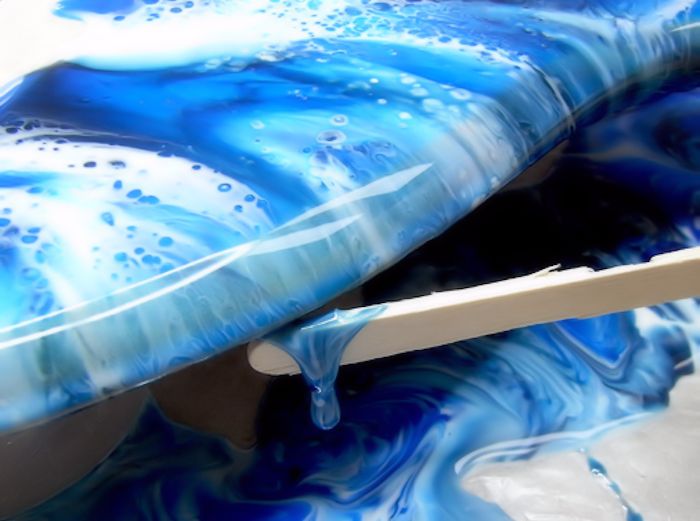
Step 11: Wipe away the drips from the underside with a clean stir stick. Allow board to set for a couple of hours in a dust free area.
Step 12: Check resin to see if it has set enough to remove the masking tape. The resin needs to be set enough so that it no longer flows but not set to the point where the tape cannot be removed. To test, draw a toothpick through a puddle of resin that dripped onto the work surface. If the resin flows back together slowly, carefully pull the tape off the cheese board with gloved hands. If the resin is still very fluid and flows together quickly, allow it to set for another 30 minutes. Check again and remove tape when appropriate. Allow resin to cure overnight in a dust free area.
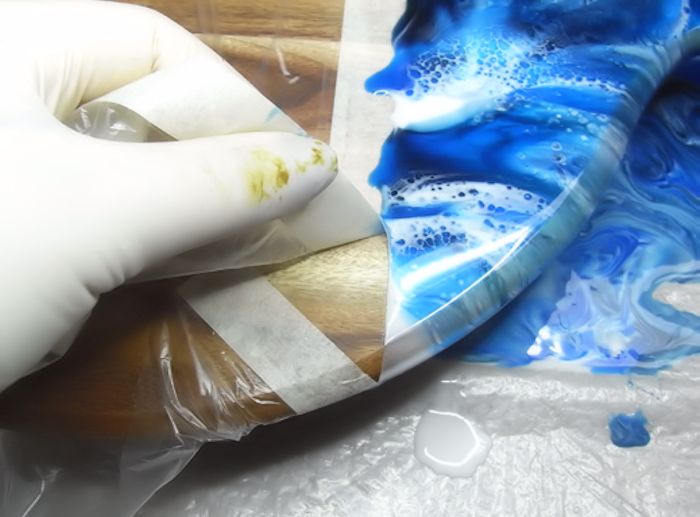
Step 13: Turn the cheese board over, tape off the sides so that resin will not drip onto the front of the board while coating the second side.
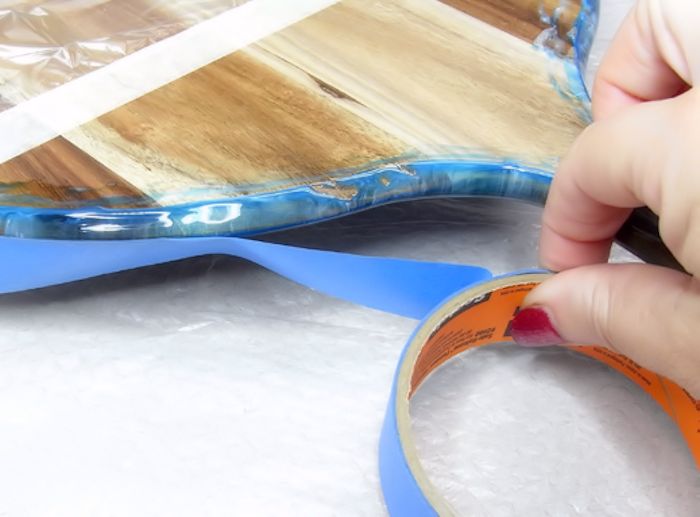
Step 14: Repeat steps 2 – 10 to cover the back with resin. Remove bubbles as described above. Then remove tape as outlined in Step 12. Allow to cure for at least 24 hours in a dust free area.
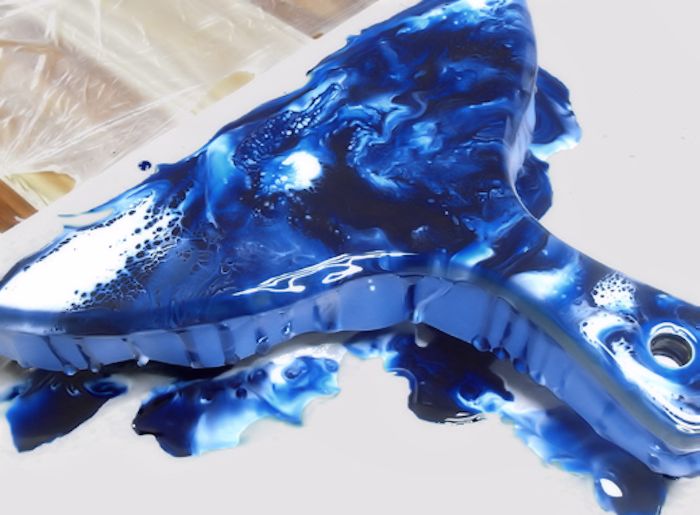
Note: Handwash only after use.

